
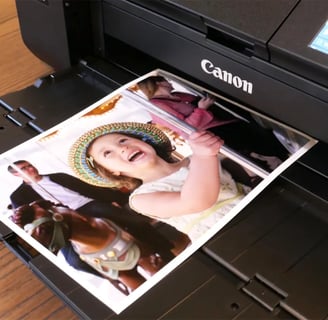
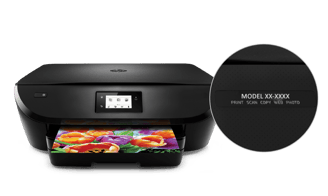
Find and Download Printer Drivers Easily on Our Website
Setting up a printer involves a series of steps to ensure that the printer is connected to your computer or network and is ready to print. Here's a general guide on how to proceed with printer setup:
Steps to Setup New Printer

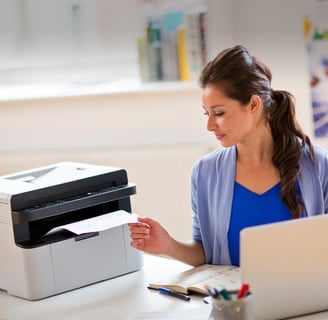
Unpack the Printer: Carefully unpack the printer and remove all packaging materials.
Place the Printer: Find a suitable location for your printer. Make
sure it's close enough to your computer or network for connectivity.Place the Printer: Find a suitable location for your printer. Make
sure it's close enough to your computer or network for connectivity.Power Connection: Connect the printer to a power source using the provided power cable.
Turn On the Printer: Power on the printer and wait for it to initialize.
Install Ink or Toner Cartridges: If it's an inkjet printer, install
the ink cartridges. If it's a laser printer, install the toner cartridges.Load Paper: Load the appropriate type and size of paper into the printer's
paper tray.
Connect to Computer: Connect the printer to your computer using a USB cable or set it up on your network if it's a network printer.
Install Printer Drivers: Most printers come with a CD containing drivers.
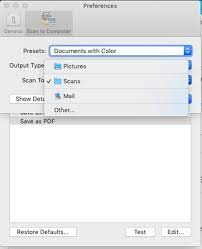
Insert the CD into your computer and follow the on-screen instructions to install the necessary drivers. Alternatively, you can download the latest drivers from the manufacturer's website.Configure Printer Settings: Once the drivers are installed, configure
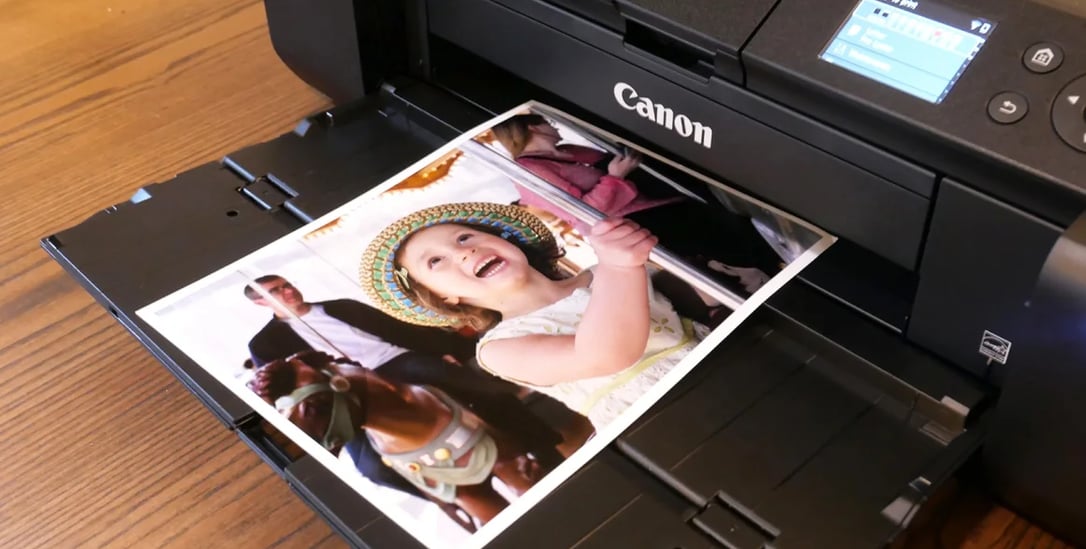
the printer settings such as paper size, print quality, etc.Test Print: Print a test page to ensure that the printer is working
correctly.Wireless Setup (If Applicable): If your printer supports wireless
connectivity, configure the wireless settings and connect it to your Wi-Fi network.Mobile Printing (Optional): If your printer supports mobile printing,
install the necessary apps on your smartphone or tablet and configure them to print wirelessly.Update Firmware (Optional): Check if there are firmware updates available for your printer and update if necessary. This can improve performance and fix bugs.
Troubleshooting: If you encounter any issues, consult the printer
manual or visit the manufacturer's support website for troubleshooting tips.Regular Maintenance: Follow the manufacturer's guidelines for regular
maintenance, such as cleaning printheads or replacing consumables.Remember that the specific steps can vary depending on the make and model of your printer. Always refer to the printer's manual for detailed instructions tailored to your device. If you encounter any difficulties, the manufacturer's customer support is a valuable.


Steps to Fix Printer Offline Issue?
If your printer is showing as offline and you're having trouble printing, there are several steps you can take to troubleshoot and resolve the issue. Here's a guide to help you fix the "Printer Offline" problem.
Check Physical Connections: Ensure that all cables connecting the printer to your computer or network are securely plugged in.
Power Cycle the Printer: Turn off the printer, unplug it from the power
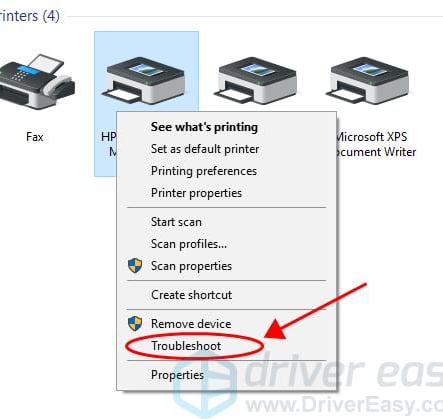
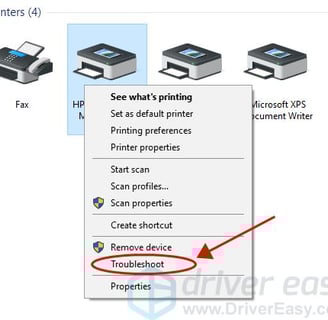
source, wait for about 30 seconds, and then plug it back in. Power on the printer and check if it comes online.Check Printer Status: On your computer, go to "Control Panel" or "Settings," depending on your operating system, and navigate to "Devices and Printers" or "Printers and Scanners." Right-click on the offline printer and select "See what's printing." Clear any pending print jobs.
Set Printer as Default: Make sure your printer is set as the default printer. Right-click on the printer icon and select "Set as default printer."
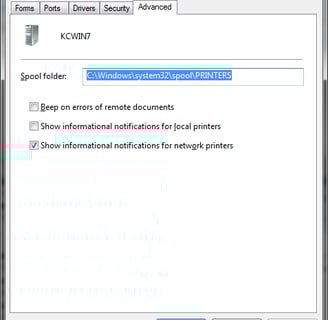
Restart Print Spooler Service: Open the "Services" window on your computer. Find "Print Spooler" in the list, right-click on it, and select "Restart."
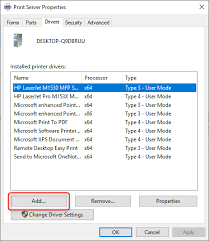
Update or Reinstall Printer Drivers: Outdated or corrupted drivers can
cause printing issues. Visit the printer manufacturer's website to download and install the latest drivers for your printer model.
Check for Paper Jams or Other Hardware Issues: Ensure there are no paper jams or other hardware issues within the printer that may be causing it to go offline.
Verify Network Connection: If the printer is connected via Wi-Fi, check
if the Wi-Fi network is stable. Reconnect the printer to the Wi-Fi network
if necessary.Use Printer Troubleshooter: Many operating systems have built-in printer troubleshooters. Run the troubleshooter to automatically detect and fix common printer issues.
Check Printer Settings: Verify that the printer is not set to "Use Printer
Offline." Right-click on the printer in the "Devices and Printers" window,
and ensure that the "Use Printer Offline" option is unchecked.Firewall and Antivirus Settings: Ensure that your firewall or antivirus
software is not blocking the printer. Temporarily disable the firewall
or antivirus and check if the printer comes online.Reinstall the Printer: Remove the printer from your computer and reinstall it. To do this, go to "Devices and Printers," right-click on the printer, and select "Remove device." Then, reinstall the printer using the original installation CD or by downloading the latest drivers from the manufacturer's website.
Contact Printer Support: If the issue persists, consider contacting the
printer manufacturer's support for further assistance.
By going through these steps, you should be able to identify and resolve the "Printer Offline" issue. Keep in mind that the exact steps may vary depending on your operating system and printer model. If you're unsure, refer to the printer's manual or the manufacturer's support resources for specific guidance.
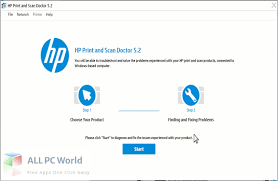
How to use HP Scan and Doctor tool?
If you're facing issues with your printer and want a convenient way to
troubleshoot and fix problems, you can use the Print and Scan Doctor tool
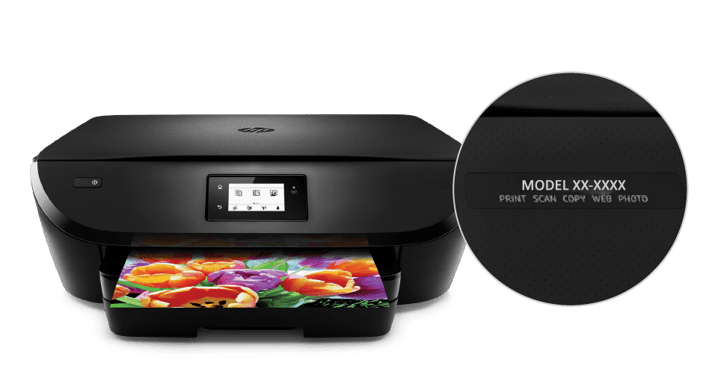
provided by HP. This tool is designed to diagnose and resolve common printing
and scanning problems for HP printers. Here's how you can use it:Download and Install Print and Scan Doctor: Go to the HP Print and Scan
Doctor download page on the official HP website. Download the tool and
follow the on-screen instructions to install it on your computer.Run Print and Scan Doctor: Open the Print and Scan Doctor tool on your
computer.Select Your Printer: The tool will automatically detect connected printers.
If your printer is listed, click on it. If not, make sure your printer
is connected and turned on.

Troubleshoot Printing Issues: The Print and Scan Doctor will check for
and fix common printing problems. Follow the prompts on the screen to allow the tool to automatically resolve issues.Troubleshoot Scanning Issues (If Needed): If you're experiencing scanning
issues, the tool can also help diagnose and fix them. Follow the on-screen
instructions to troubleshoot scanning problems..Follow Recommendations: The tool will provide recommendations based on
its diagnosis. Follow any suggestions or instructions given by the tool
to resolve the issues..Check for Updates: The tool may also check for and recommend updates to
your printer software. If prompted, consider updating your printer drivers
for optimal performance.Contact Support (If Necessary): If the Print and Scan Doctor tool is unable
to resolve the issues, it may provide information on how to contact HP
support for further assistance. Follow the provided instructions if additional
support is needed.
The HP Print and Scan Doctor tool is a user-friendly solution that can help you identify and fix common printer issues. Keep in mind that this tool is specifically designed for HP printers. If you have a printer from another manufacturer, check if there is a similar diagnostic tool available on their official website.

Connect us to get your printer fix
Providing all printer drivers link on your email while filling a form.
Call us now:
connect@printerdrivers.tech
(833) 569-0560
© 2024. All rights reserved.
Get your printer issue's resolved with an Experts.